
Sketch a storage layout using actual footprints and a usable access aisle, with separate checks for doors, height and item handling.
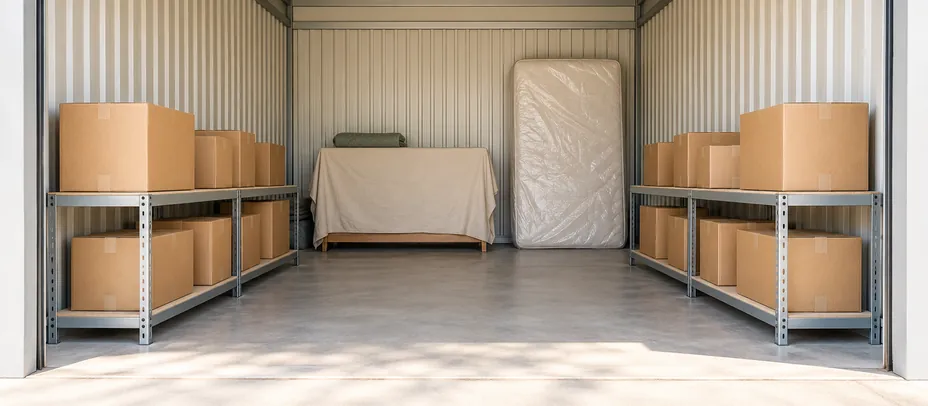
Draw the floor before stacking the load
Start with the assigned unit's measured inside width and depth, door opening, obstructions and usable height. Mark the door swing or roll-up clearance and any areas the facility says must remain clear. Public Storage's size guide describes sizes as approximate; the nominal label is a starting point rather than a measured floor plan.
Place the largest furniture footprints first. Identify pieces that cannot support another load or cannot be stored in a different orientation without manufacturer approval. Draw an access route to anything you expect to retrieve. An aisle is space you deliberately keep empty, so count its floor area separately from the packed inventory.
| Illustrative 10 ft × 10 ft unit | Area |
|---|---|
| Nominal floor | 100 sq ft |
| Chosen 2.5 ft × 10 ft aisle | 25 sq ft |
| Remaining floor before other clearances | 75 sq ft |
| 240 cu ft load at assumed 4 ft average stack height | 60 sq ft |
| Initial floor-area screen | 60 + 25 = 85 sq ft |
Understand what the arithmetic leaves unresolved
The 85 sq ft result passes a preliminary comparison with 100 sq ft, but it does not prove the load fits. Dividing volume by an average height assumes that the space can be used in a reasonably consistent way. A sofa, lamp and fragile tabletop may prevent that arrangement even when their combined volume seems small.
The 2.5 ft aisle and 4 ft stack height are example choices, not access standards or safe stacking limits. Select clearances for the actual people, equipment, packages and facility requirements. If you need to pull a large carton from a side stack, sketch the removal path as well as the walking path. Include space to turn and handle it.
Give each area a retrieval job
Use a front zone for expected visits, a middle zone for ordinary household items and a rear zone for things that can remain until move-out. Label these zones on the inventory. Keep paired components in the same zone where practical: a bed frame without its hardware box creates an avoidable retrieval trip.
Before committing to the unit, check the longest piece against the door and hallway turns. Ask whether your planned storage method is acceptable for delicate or unusually heavy items. Photograph the final arrangement from the entrance and update the sketch when anything moves. If retrieving one box requires unloading half the unit, revise the layout or size choice before treating the empty floor area as wasted rent.
Reviewed October 22, 2026. Workflows, quantities and USD examples are editorial planning scenarios, not market averages or a carrier quote. Confirm the terms for your move.
- Public Storage — Size Guide — Nominal unit dimensions; actual doors, usable height and available units vary. (Checked 2026-10-22.)
Use this plan with
-
Storage Floor Area Screening Calculator
Screen storage floor area using packed volume, your chosen stacking height and a separately measured aisle,…
Calculator
-
Create a Storage Inventory and Location Map
Create a storage map that connects each box and furniture package to a zone, so retrieval does not require…
Guide
-
Storage Unit Dimensions and Floor Area Chart
Compare nominal storage dimensions and floor areas, then subtract real access space and test your furniture…
Chart
Related tools & guides
-
Checklist
Storage Move-In Checklist
Inspect the assigned storage unit, map access and count the packages entering it so the…
-
Cost guide
Storage Unit Cost: Calculate the Full Stay
Calculate storage rent for the full stay, including recurring protection, setup charges,…
-
Comparison
Climate-Controlled vs Standard Storage
Compare storage environments using your item requirements, the facility’s actual…
-
Comparison
Storage Unit vs Portable Container
Compare a self-storage unit and a portable container by handling steps, access needs,…